How to add a photo gallery to a page
To add a new photo gallery to your site, you'll need to upload photos to your Image Vault. See Working with images for information on that if you are unfamiliar with it.
Once you have some images in your vault, go to Website > Vaults > Media Vault.

Click on the "Add" button and select the type of media you are adding. Give the media a name and click the "Next Step" button.

On the next popup, click on the "Add" button to add images to your
gallery. You can add the images one at a time ("Add Image") or all at
once ("Add Multiple Images").
Remember, you can only add images that have already been added to your Image Vault. See
How to upload images if you need help with this.

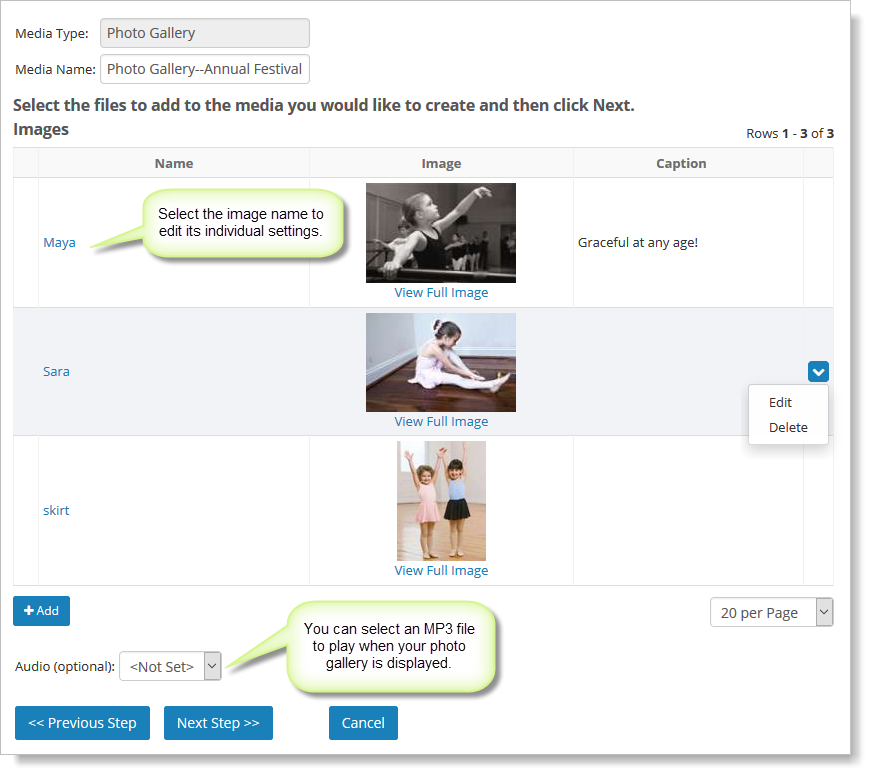
After adding the image to the photo gallery grid, you can select them
individually from the grid and assign specific settings to them:
On the photo gallery grid, you can set an audio clip to play in the background. You must upload an MP3
file to your File Vault before you can use this option. See How to add a file for more information on doing this if you need it.
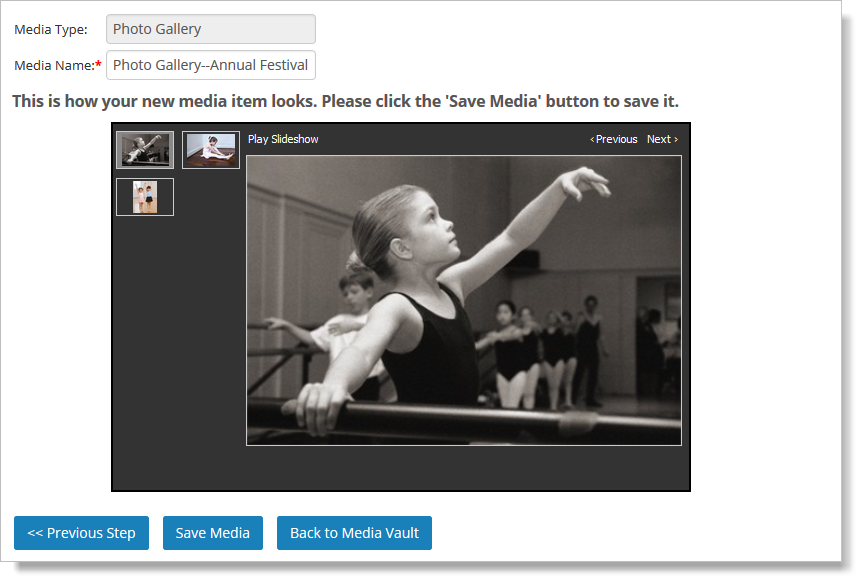
Next, you can assign settings that apply to the overall photo gallery:

You'll
see a preview of your new photo gallery. Be sure to click the "Save
Media" button to save it (or go back to change settings).
Inserting a Photo Gallery
To use your new photo gallery, first click in the area where you want to
insert it. Then click on the "Insert Media" button, which looks like
this: 

You'll see a popup window. In the "Media Item" field, select the photo gallery, and click on OK to insert it.

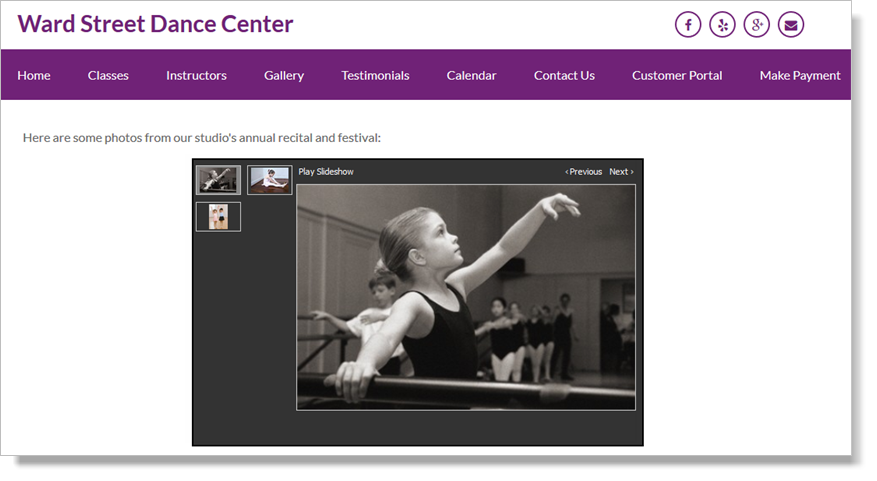
This is how a gallery will look on your site (depending on the options):
Note:
Some settings will not be updated automatically if you update your
Media Vault item again later. You will need to add the Media Vault item
to your page again to pick some settings changes.