Locations
The first step in setting up your account is to create the locations where your classes will be held. On the Locations Page you can add your locations, including the name of the location, the address, and the phone number. You can edit and delete each entry as you like, and determine in what order the locations will display on your site.
Find Locations in the Setup menu at Setup > General > Locations. The Locations page shows a list of locations. It should look something like this:
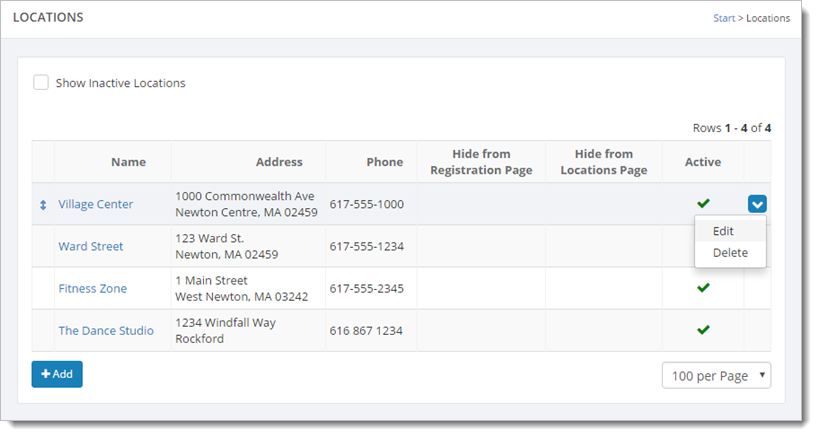
To edit or delete a location, hover over the location and click the blue down arrow on the far right. This action displays a drop-down list with both the "Edit" and "Delete" commands. You can also edit a location by clicking the location's name (e.g., Fitness Zone). This action takes you to Edit Location (shown below).
You can use the drag-and-drop icons to change the order in which your locations will appear. Hover over a row to see the drag-and-drop icons.
Click the "Add" button to add a new location. You will be presented with a form to fill out. Enter the information about the location and click the "Save & Return" button to add the location to the list.
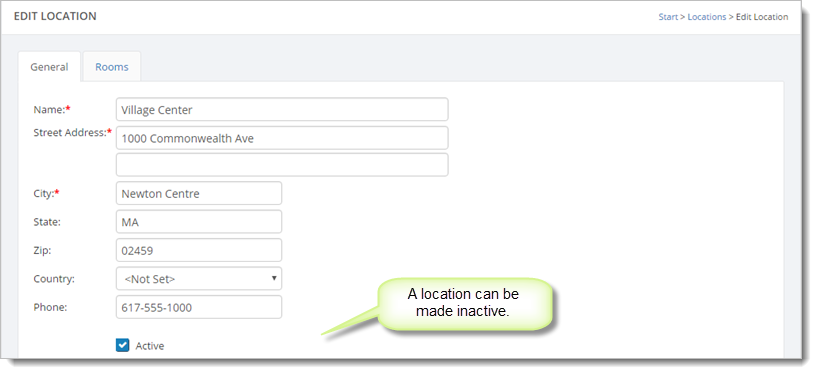
Uncheck the "active" checkbox if you wish to archive a location. The location will no longer be available when you create new classes. It will also not appear on your website. However, active classes at this location will still display on your website pages.
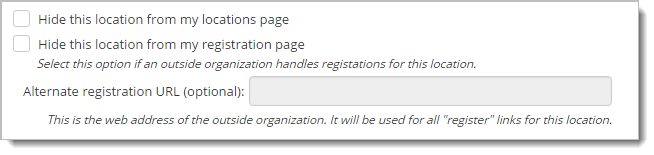
Similarly, the "Hide this location from my locations page" and "Hide this location from my registration page" can be used to suppress a location from your website.
Note that for a location which is being hidden from your registration page, you can provide an alternate registration URL. This will be used on the classes page and calendar page if you are including a "register" link on those pages.
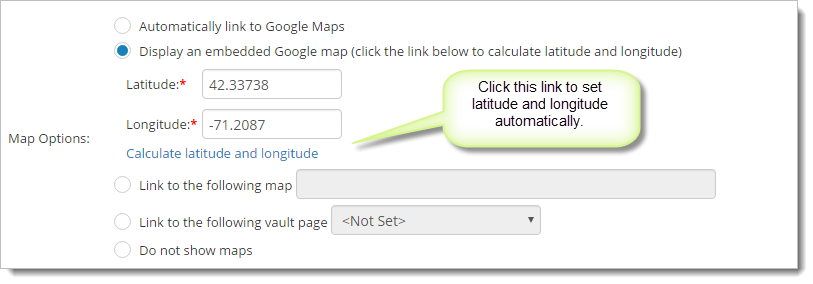
You can specify whether the location on your website should include a link to a map.
- Leave the map setting set to "Automatically link to Google Maps" to have a map automatically linked to your location by its address.
- Use the "Display an embedded Google map" option if you'd like to have a map appear on your location page. You'll need to click on "Calculate latitude and longitude" to set the coordinates of your location. Note that this feature uses the location's address to calculate its position. You may need to double-check the address if you don't get the desired results. You can set the coordinates manually to customize the map if you wish.
- Use the "Link to the following map" option to provide your own map link. In this case, you must specify the complete URL of the map to link to (e.g., "http://maps.google.com/...").
- Use the "Link to the following vault page" option to link to a page that you have set up in your Page Vault.
- Use the "Do not show maps" option if you don't want your location to be linked to a map.
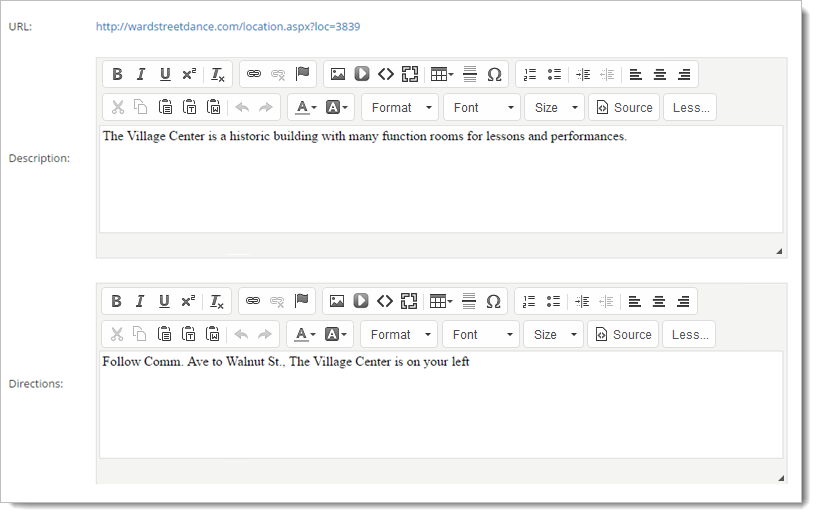
If you would like the location on your website to include directions, enter the directions in the "Directions" box. You can enter a description as well.
Note too that the direct link for this location is displayed. This link can be used in your menu or page content if you wish to insert a direct link to the location. Location links are otherwise typically generated on the classes and/or registration page. Registration and enrollment confirmation emails also include links to the location page.
You can provide an image for your location as well. Use the "Browse" button to find the image on your computer. Use the "Short Name" field if you want this location to use a shorter name for calendar entries and appointment scheduling.

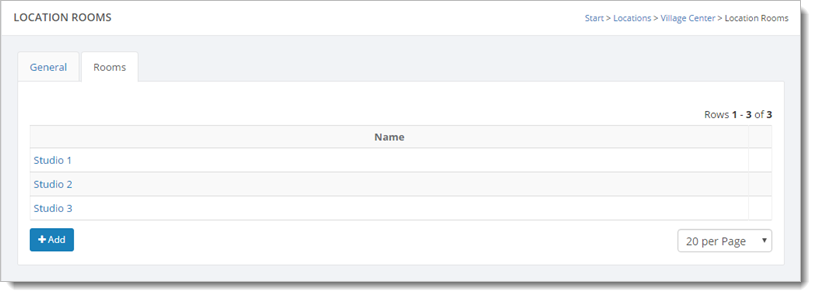
After you have saved a new location, you'll see a Rooms tab displayed next to the General tab. You can use the Rooms tab to enter rooms for the location if you wish. Rooms can be used when you create your class schedule and with appointment scheduling. See the Appointments Overview and How to set up locations for appointments for more information.