Adding an appointment with Quick Add
You can add an appointment using the "Quick Add" command, which is available on both the Appointments page and the Calendar page. Both of these locations are available by going to Manage > Appointments.
Use the "Quick Add" feature if you already know the date, time and location for the appointment. If you are not sure about this information, use the "Find Openings" feature instead to add an appointment.
Note: If you need to set up a recurring appointment, you should use the Find Openings feature. Go to Adding an appointment with Find Openings to learn more.
On the Appointments page or the Calendar page, click on the "Add" button and select the "Quick Add" command.

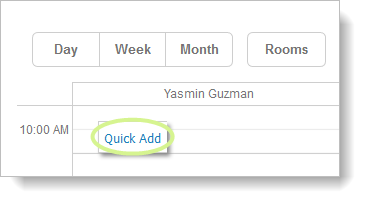
You can also click directly on the Calendar grid to access the "Quick Add" command.
After you select "Quick Add," you will see this blank popup:
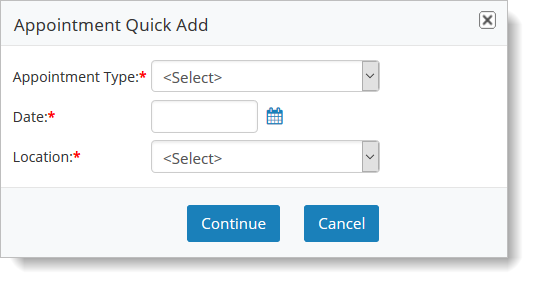
Make selections for all of the fields and click the "Continue" button. You will see the Appointment Quick Add page next.
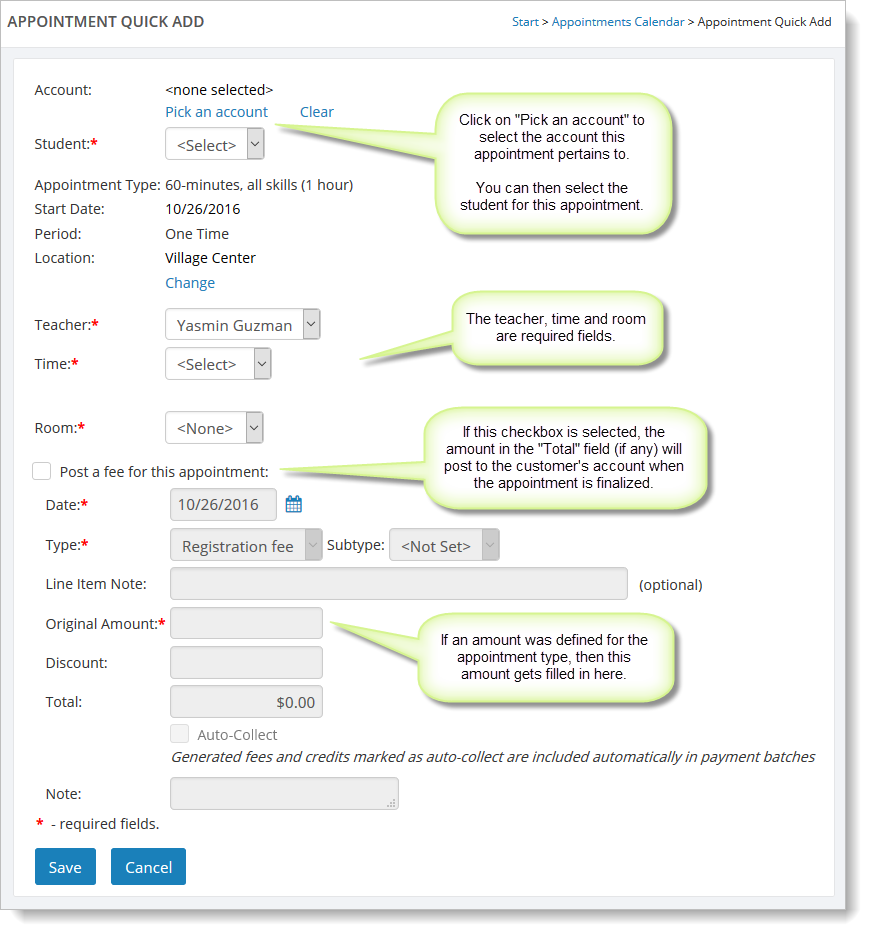
Main Street Sites has already filled in this form with the appointment type, date and location that you selected on the popup. You need to fill in a bit more information before you finalize this appointment.
Click on "Pick an account" to choose the account that is associated with this appointment. You can then pick a student from the "Student" dropdown list.
The teacher, time and room fields are all required. The available teachers on the "Teacher" dropdown list depend on what was defined for the appointment type.
If you want the appointment fee (discussed next) to be posted to the customer's account when you save this appointment, select the "Post a fee for this appointment" checkbox.
The "Original Amount" field displays a fee if one was defined for the appointment type. You can add, change or remove the amount if desired.
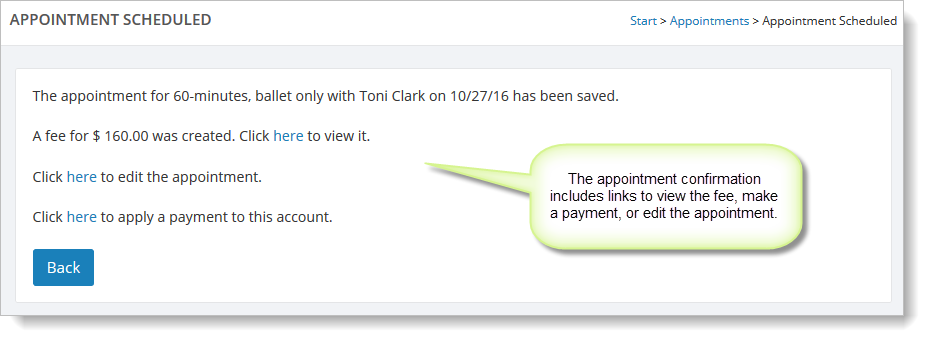
Select "Save" to finalize the appointment.
You will see a confirmation page that summarizes the appointment information.