How to replace images in a template
All new Main Street Sites templates support replaceable images. This allows us to put images into templates without having to worry if they will be appropriate for everyone. This feature is only available for Premium website customers.
Replacing the images in a template is easy. You can always go back and select the default image again later if you wish to undo your changes.
In this example, the three images used in the header of this template can be replaced.
To change images, go to Website > General > Site Options > Custom Images tab. On this tab you'll see a list of all of the images in the template that you can replace.
Note: This tab will only appear if your template supports replaceable images. Some of the older Main Street Site templates do not support this feature.
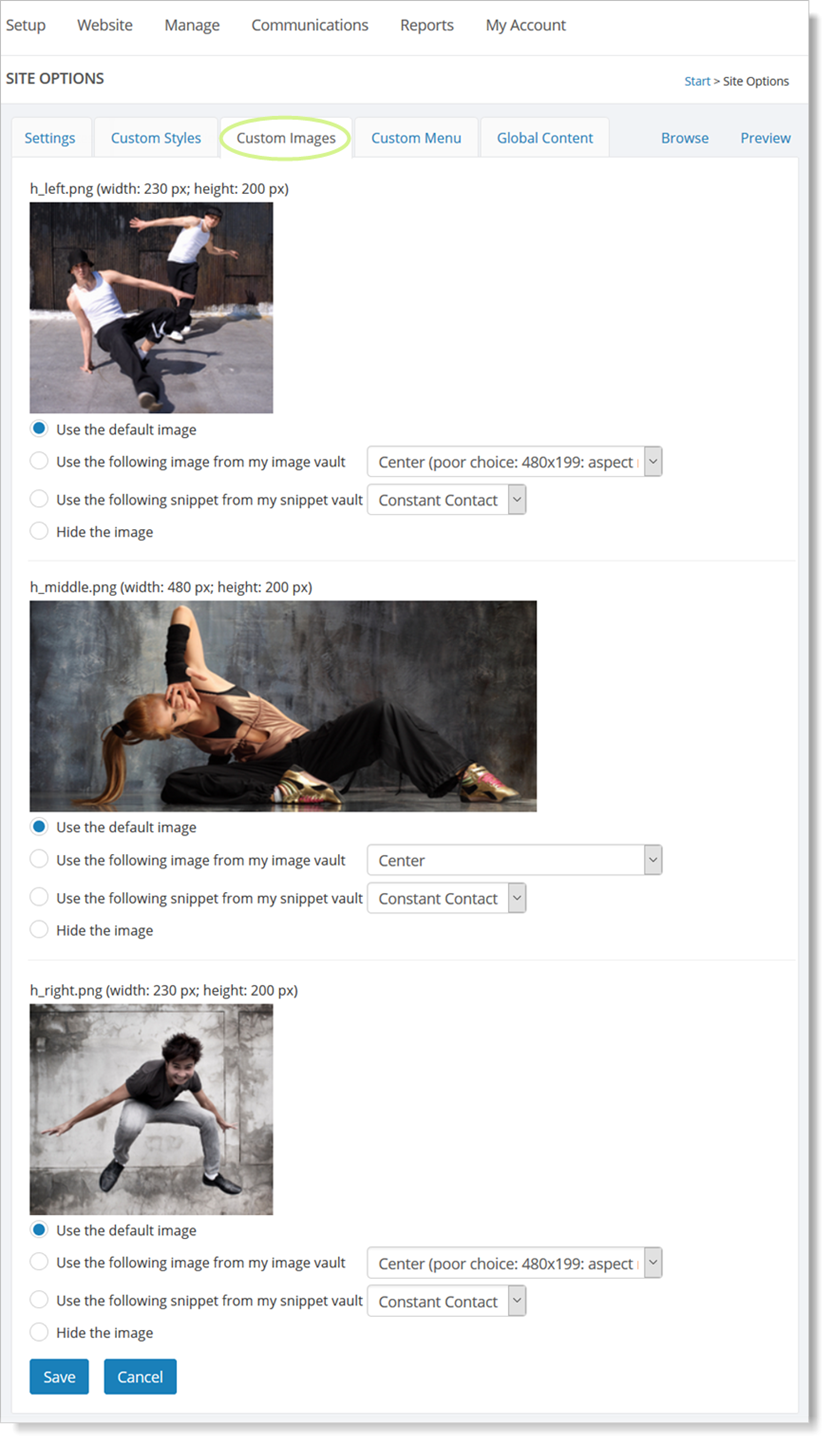
For each image in the list, you can pick an image from your Image Vault, refer to an image that is somewhere on the internet, or just hide the image if you don't want it on your site.
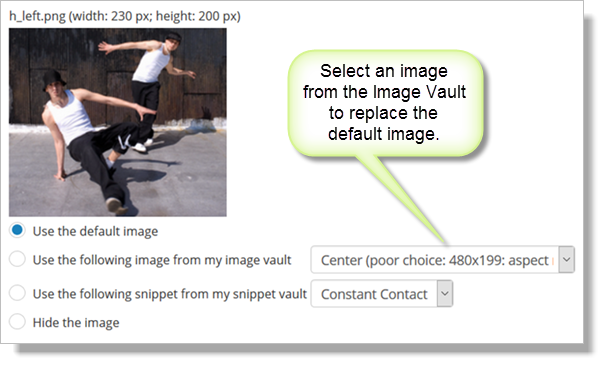
Note that the dimensions of the original image are displayed above it. If you are replacing the image with one of your own, you should make sure your image has the same height and width as the image it is replacing.
You can see what your website will look like without committing your changes by clicking on the Preview button.
Once you have saved your changes, you will have successfully changed the images on the template.
For example, you can go from this:
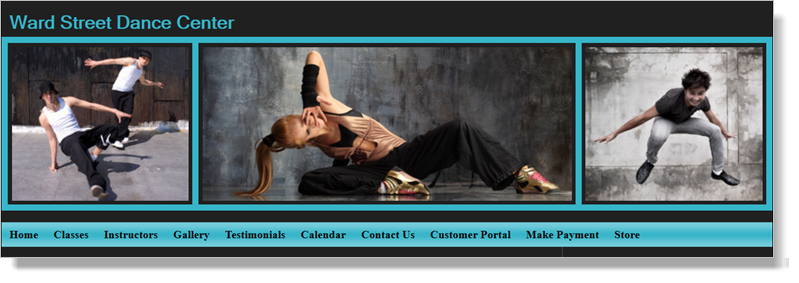
To this in just a few minutes: