Entering a contact
Contacts can be added and edited from two different places in your Main Street Sites account. Contacts are always available for use in contact lists for mailings, regardless of the method used to add them to your account.
- Communications > Contacts > Contacts
In this case, you can see and edit all contacts, including contacts that are associated with accounts. You cannot edit account-related information from this page (like portal user name and password).
- Manage > Accounts > Accounts > Contacts tab
In this case, you can only see and edit the contacts associated with one account at a time. You can edit account-related information from this page (like portal user name and password).
- From your website
Some features in Main Street Sites allow your customers to add themselves to your list of contacts, either as part of an account or as non-account contacts.
Adding a contact from Communications > Contacts > Contacts
Go to Communications > Contacts > Contacts and click on the "Add" button. You will see this form for adding a new contact:
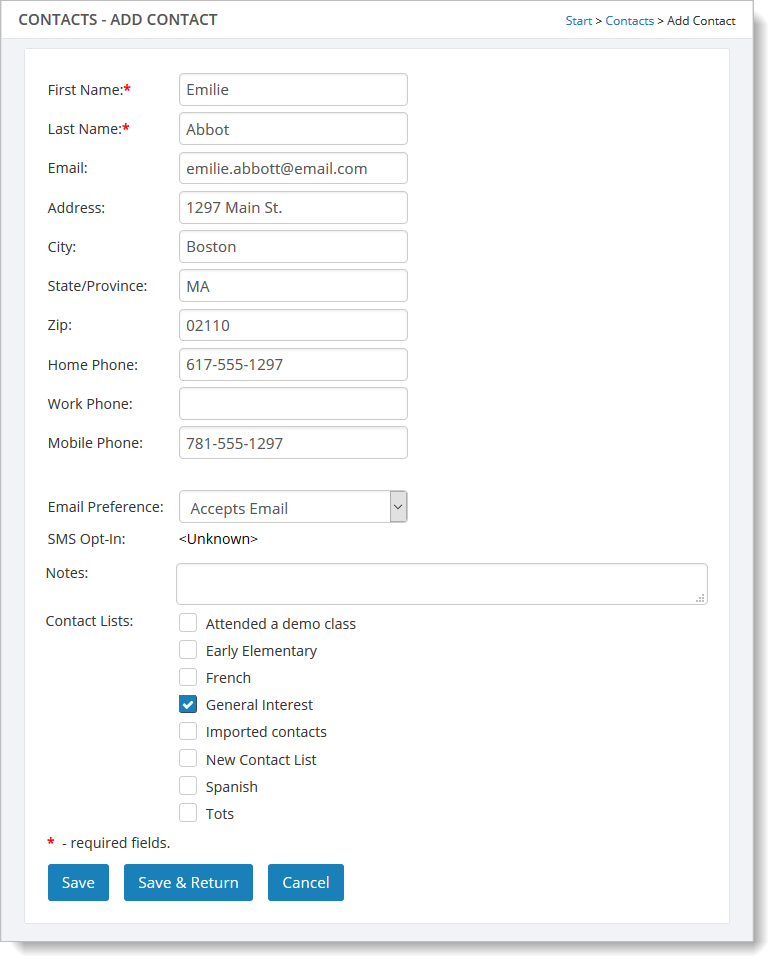
Fill in the contact information and click "Save" or "Save & Return" to save your new contact. Now you can use this contact in your contact lists if you wish.
Adding a contact from Manage > Accounts > Accounts > Contacts tab
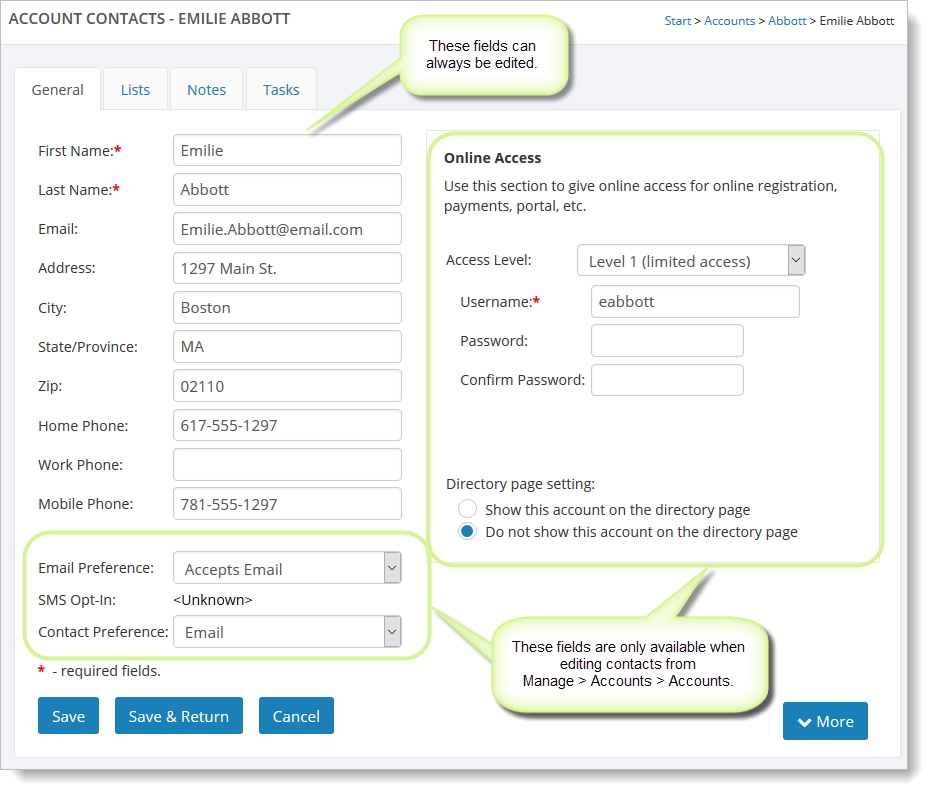
If you add a contact from the Manage > Accounts > Accounts > Contacts tab, the contact will be associated with the account you are working with.
You will see the same contact fields shown above, but you will also be able to edit fields relating to the website portal feature, as shown here:
Adding a contact to a contact list
From either of the above-mentioned locations, you can select the "Lists" tab to edit the mailing lists for a given contact, as shown below.

Note: If you wish to do this for many contacts at once, you should instead go to Communications > Contacts > Contacts Lists.
Adding accounts from your website
Contacts can also be added from your website using the entry form shown below:
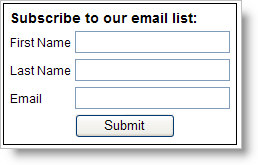
This form may appear different from the above example based on your selected website template.
To enable this feature for your site, go to Website > Site Options > "Settings" tab, and select the checkbox for the "Enable the 'Subscribe to our Email List'..." setting. Directly below this setting is the "Add new contacts to this list" setting. Here you should choose the contact list that new contacts from the website are automatically added to.

If you use the Portal feature or allow account-based registrations on your site, your customers can create an account and contact record themselves.
Also, an account and a related contact is created automatically for all online registrations (if you or your customer haven't already created one).
Note: These contacts will be automatically added to any contact list marked as "Auto-add all new contacts."