Working with tables
Adding tables to pages can be a convenient way to organize the
information on a given page. To work with tables, select the "More" button on the toolbar to display the "Insert Table" button.
 Insert Table Button
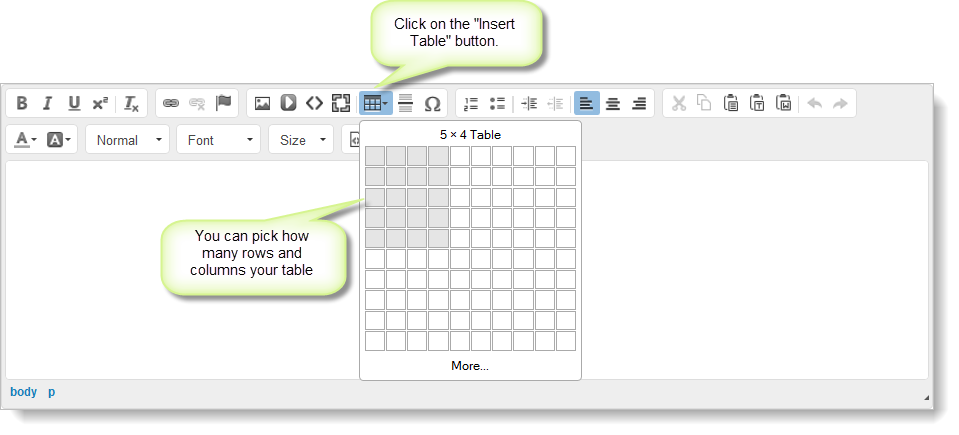
Click on the "Insert Table" toolbar button to insert a table. You
can select the initial number of rows and columns in the table by
dragging your mouse over the little "Table Wizard" that pops up.
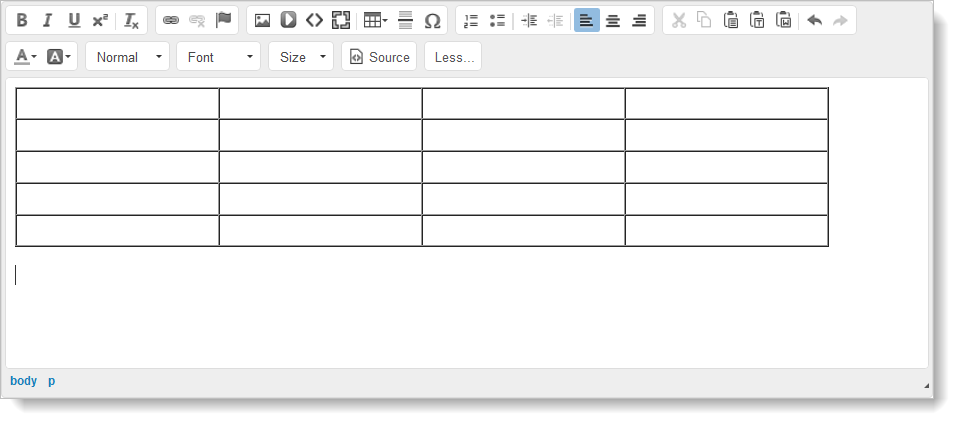
This is what an empty table looks like. By default, the table is inserted with border lines.
To format the table, right-click inside of the table to display the various formatting commands:

If you do not want border lines in your table, on the right-click menu, select "Table Properties.
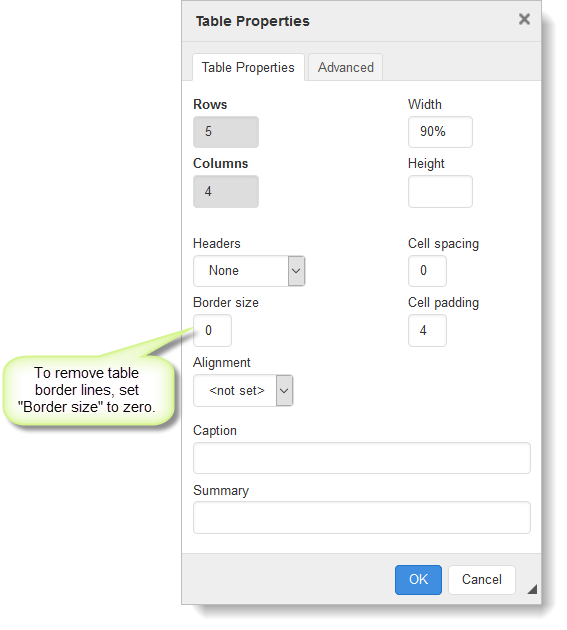
Set the "Border size" field to zero and click "OK." When you return to the page, you will see gray lines that indicate the borders, but these do not display on your website.
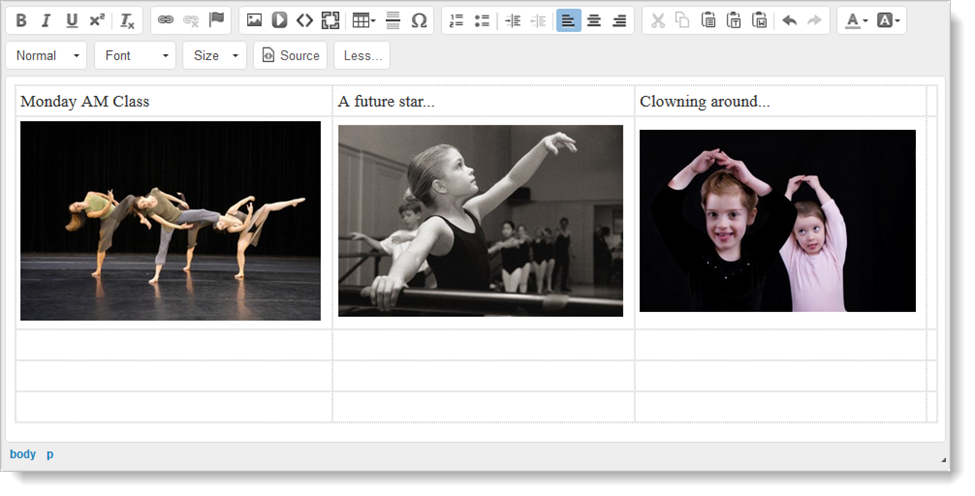
You can use a table without border lines to arrange images and captions:
Use the other buttons on the table's right-click menu ("Insert Row" and "Insert Column") to further format your table.
To resize the table, select all of the cells, and click and drag on one of the corner "handles." You can do this just for rows or columns; just select the entire row or column before you click and drag.