How to customize your class schedule
Main Street Sites creates a default layout for your class schedule. It looks something like the example below. With the Named Layouts feature, you can configure the class layout to suit the needs of your business or your personal preference. You can add columns, change the column order, change the column header labels, remove columns, change grouping and sorting, add filters, etc.
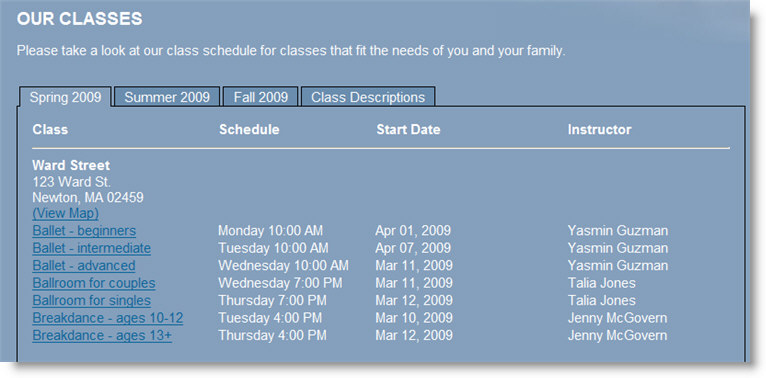
Here is the default classes layout:
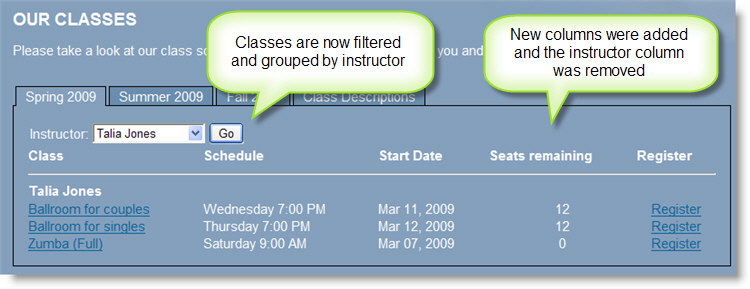
Here is an updated classes layout. Note that new columns have been added, and other columns have been removed. A teacher filter has been added, and classes are now grouped by teacher.
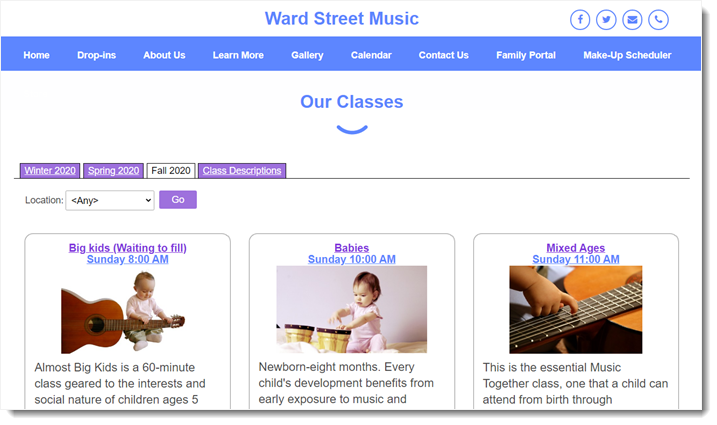
Other layout options include a class catalog layout (shown below) and a class calendar layout. In this example the image and text are coming from the class description. They could also come from the class type description as well.
Updating the default class table layout
To update the default named layout used by the classes page, go to Website > Settings > Named Layouts.
You will see that a default set of layouts has been created for you automatically. There should be a layout for your Classes page and for your Registration page, as shown here.
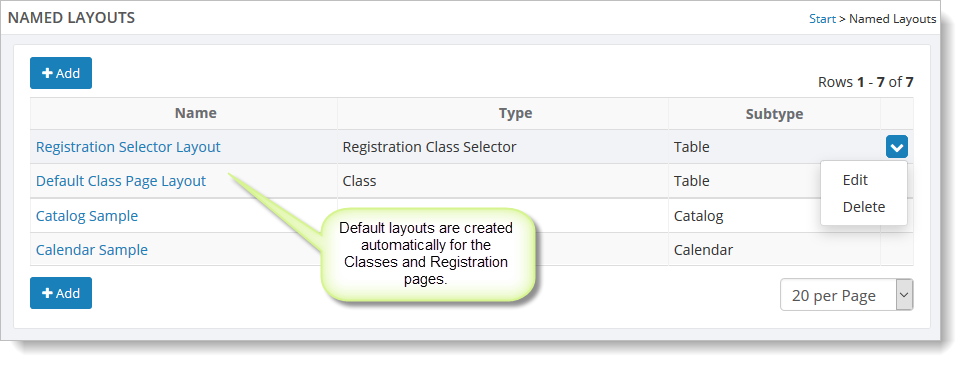
To create a new layout, select the "Add" button.
To edit a layout, click on the layout name (e.g., Default Class Page Layout). You can also hover over a layout, click on the far right blue down arrow, and select the "Edit" command.
On the Edit Layout page, you can add a filter if you don't want all of your classes to show at once time. You can change the grouping and sorting of your classes. You also have the ability to change the appearance of the table that displays the classes (background color, line thickness, etc.). In the grid section, you can update the columns used to show your classes.
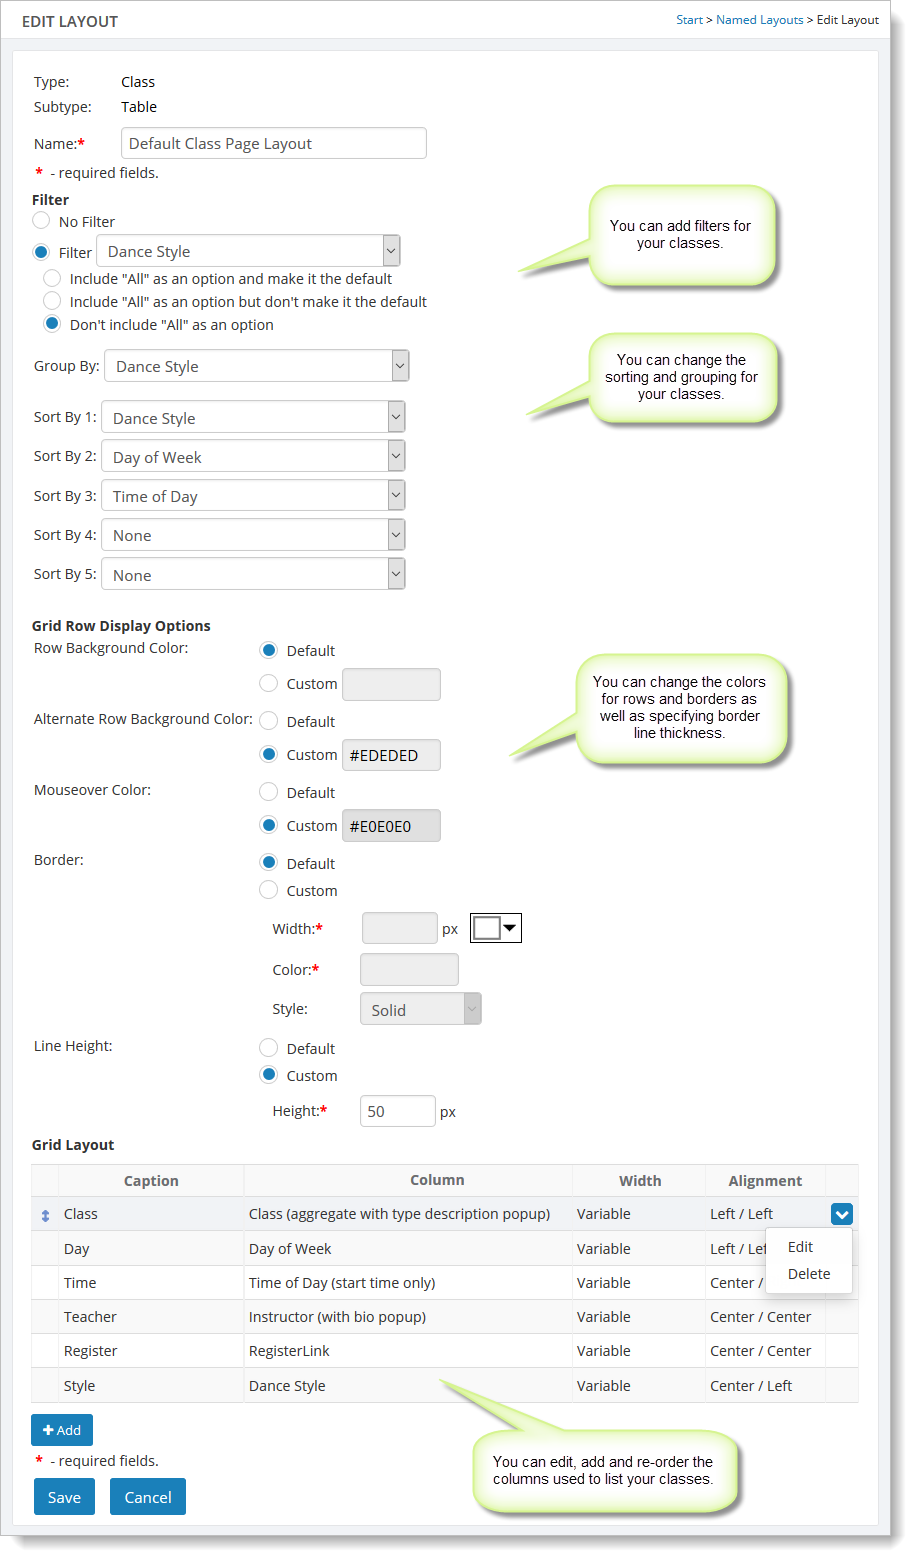
To add a new column to the class grid layout, select the "Add" button.
To edit an existing column, hover over it and click the far right blue down arrow. Select the "Edit" command.
When you add or edit a column, you can specify the caption for the column header, the data source for the column, and the width and alignment of the column.
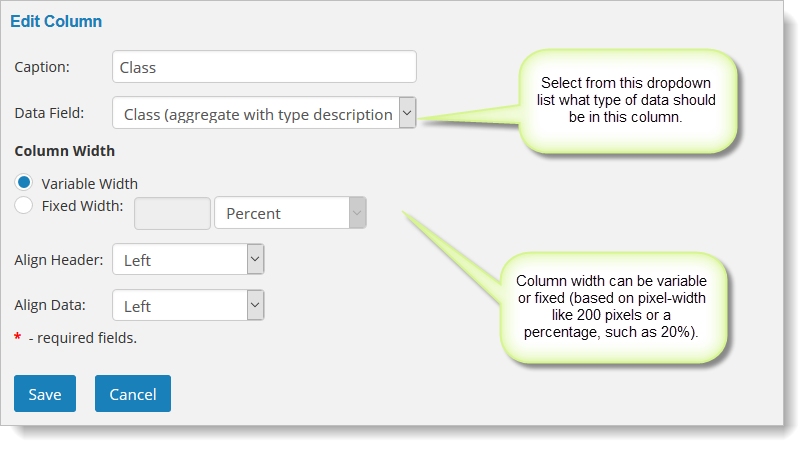
Column widths can be variable (i.e., let the browser decide how best to show the column) or fixed. Fixed columns widths are expressed as a percentage of the screen width or as a fixed number of pixels. When working with column widths, you may find you need to experiment.
Adding a Class Catalog layout
To add a class catalog layout, go to Website > Settings > Named Layouts and click on "Add". Select the catalog type when prompted.
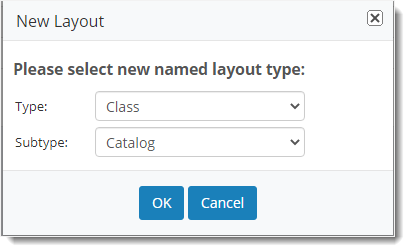
You'll be shown a new form to fill out for the catalog layout:
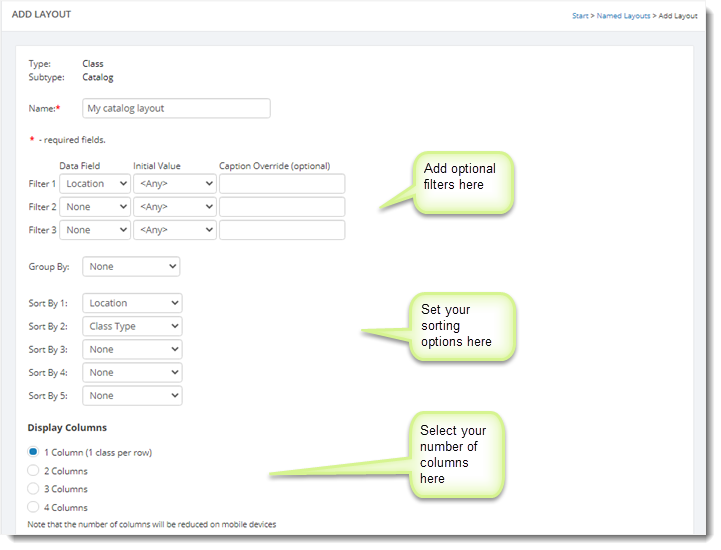
Note that your catalog layout can have multiple columns. You'll want to experiment to see what works best for your classes. If you are including a long class description you may need extra space.
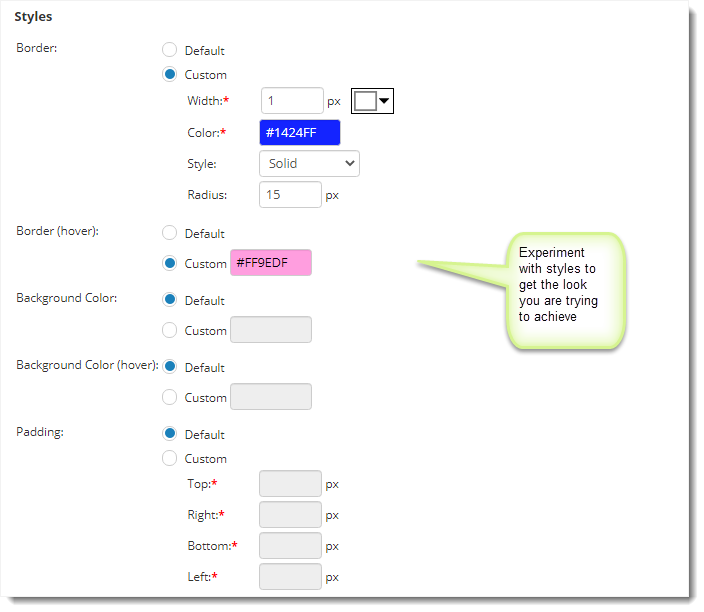
In the styles section you can set things like the border and background color for your catalog entries. Set the "border radius" to round the corners of the sections, as shown here:
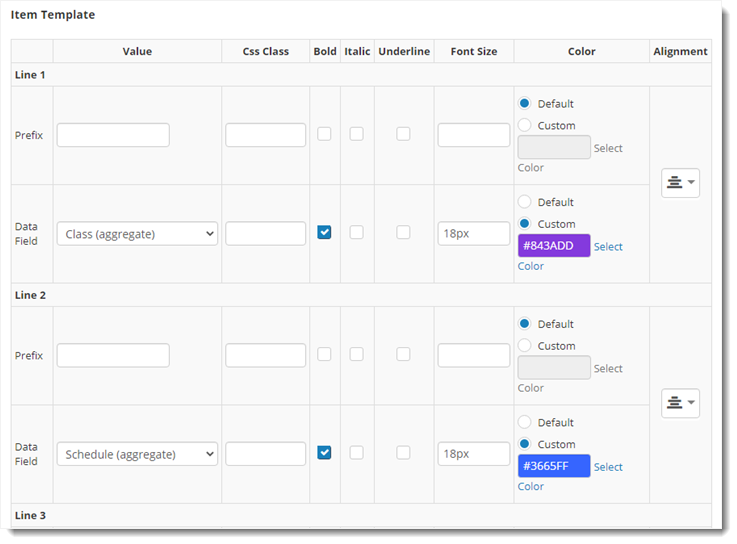
In the "Item Template" section, select the columns you'd like to show for each class. Use the settings like font size and alignment to highlight the information as needed.
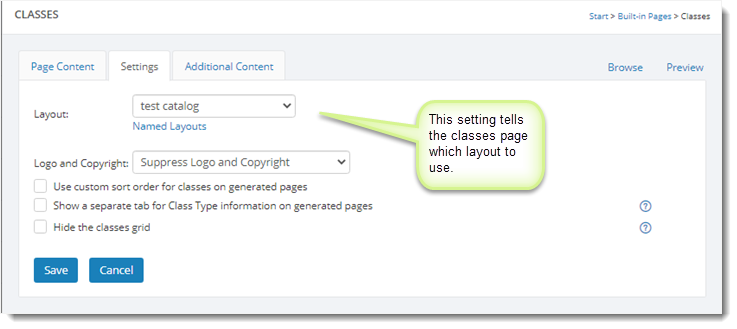
To get the classes page to use your layout, go to Website > Built-in Pages and edit the classes page. On the settings tab you'll see a layout option for the page. Select your new layout and save your changes.