Working with images
This help topic explains the various ways you can work with images on your website.
Before you can work with an image, you must first upload it from your computer (or wherever it is stored) into the Image Vault for your website. Two methods are available for you to upload an image:
After uploading the image, you can perform the following actions on the image:
How to upload images
Although the drag and drop method of adding an image to the Image Vault is faster than using the "Add" function, the advantage of the latter method is that you can specify a name for the image when you add it. When you use the drag and drop method, Main Street Sites creates its own name for the image.
Using drag and drop
Place the window that displays your image next to the window that displays your content editor page.
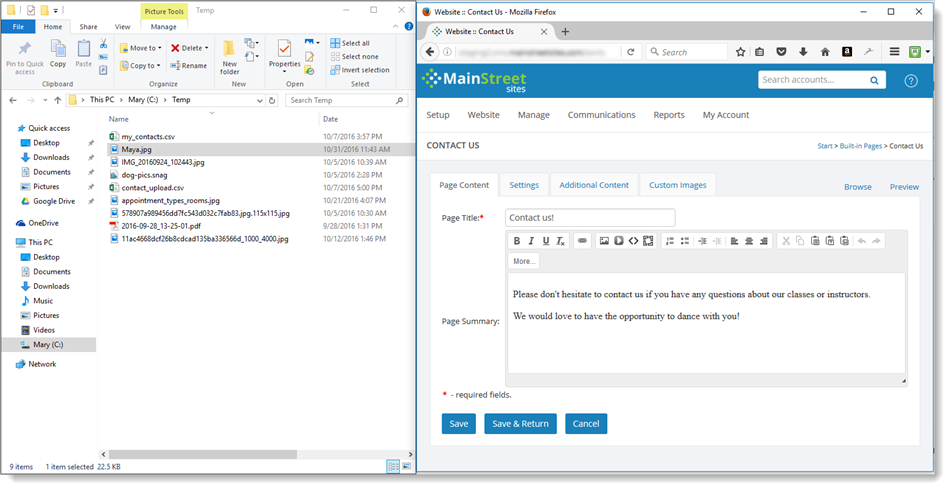
Click on the file that contains the image and hold down the mouse button. Drag the image across the screen and when the mouse pointer is over the content editor, release the mouse button. This will "drop" the image into the content editor. It will also automatically add the image to your Image Vault.
Using the "Add" function in the Image Vault
Go to Website > Vaults > Image Vault. Each uploaded image will be listed in your Image Vault grid. The grid
will be empty the first time you use this page. This example shows the
grid with a few images uploaded:
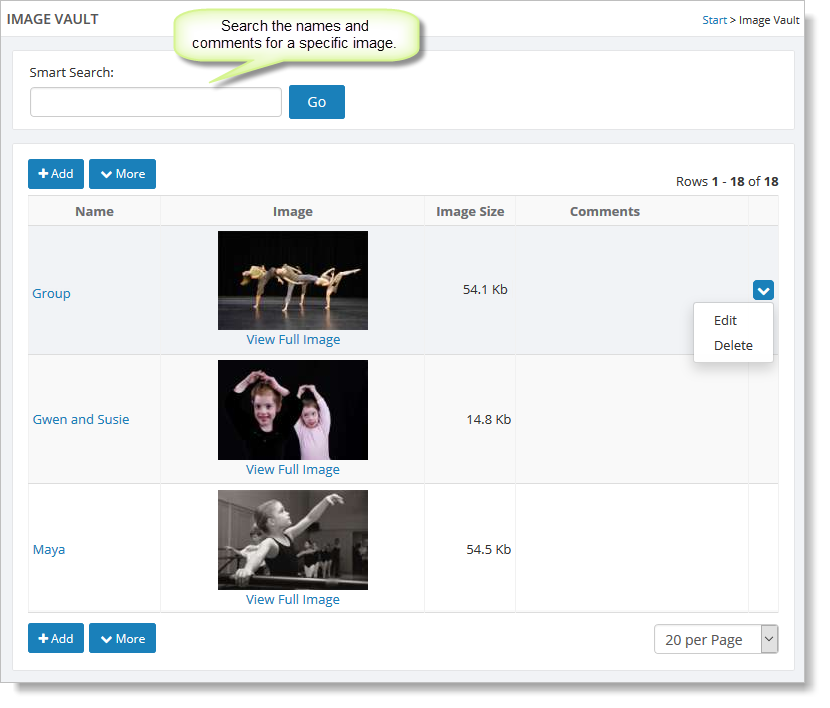
Click the "Add" button to upload an image to Main Street Sites. You will be presented with Add Image:
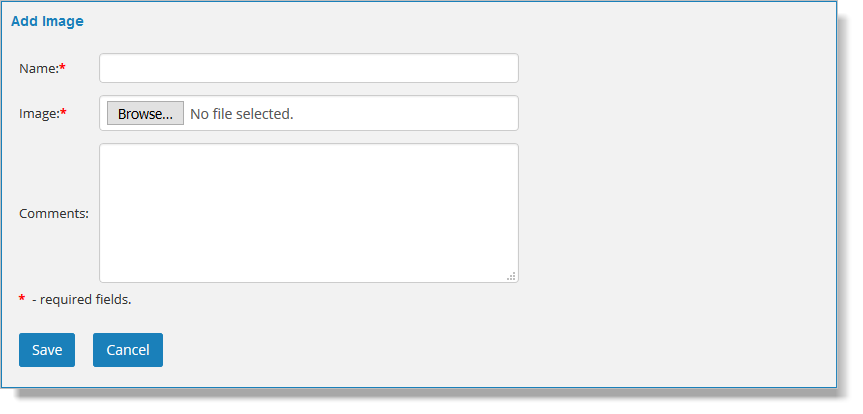
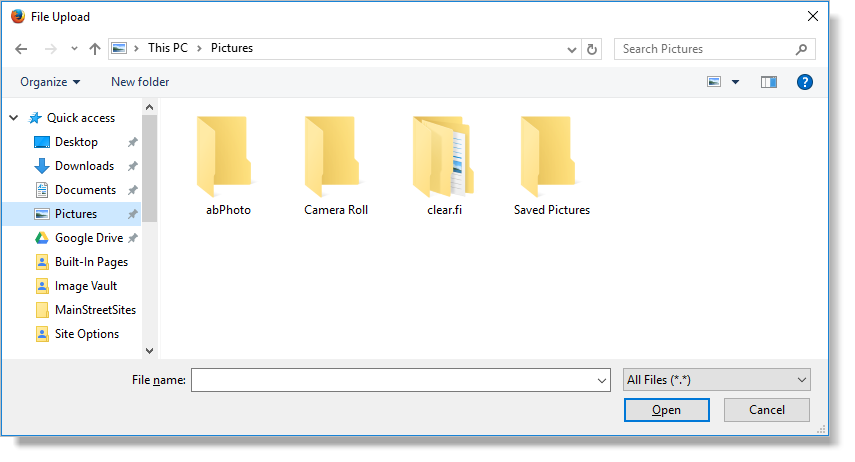
Next, click the Browse button to find the image file you would like to upload from your computer to your image vault.
Enter
the information about the image. The image name should be something
descriptive so that you can recognize it later. Enter a comment in the
"Comments" field if you like. Click the "Save" button to add the image
to the grid. At this point, you can add that image to any of your
website pages.
To edit or delete an image, on the Image Vault grid, hover over it and click the blue down arrow
on the far right. This action displays a drop-down list with both the
"Edit" and "Delete" commands. You can also edit an image by clicking its
name. This action takes you to Edit Image.
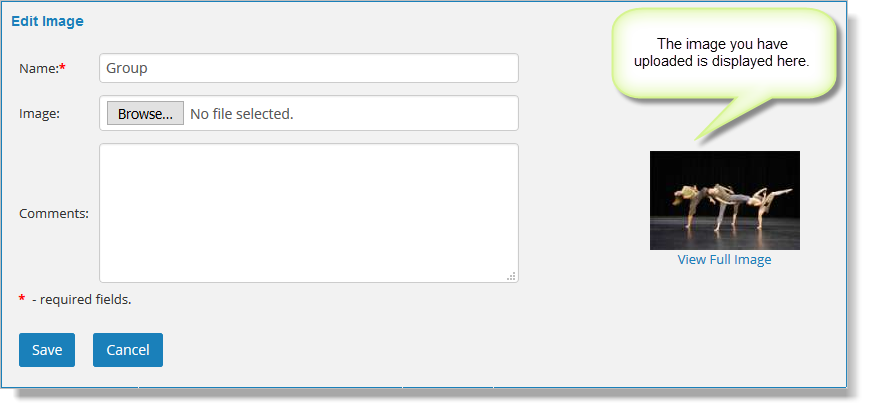
You can change the name or comment, or you can select the Browse button to choose a different image.
How to insert an image into the content area
To add an Image Vault image to one of your pages, first go to the
page where you want to insert the image. For example, to add an image to
your Home page, select Website > General > Built-in Pages, and
then select Home from the grid.
In the content editor area, click your mouse on the line where you want to insert the image.
On the toolbar, select the "Insert Image" button. Note: Some pages have more than one content editing area, so make sure you select the "Insert Image" icon that is on the toolbar directly above where you placed your cursor.
You will see a form on which you can select the image. Click on the "Select vault picture name" field to see the available images.
If you
just want to insert the image, you can click the OK button.
However, if you want the user to be able to click on the image and have something happen, click on the "Link" tab.
- If you would like the image to bring people
to an external link, you can select "URL" in the "Link Type" field and enter in the website address in the "URL" field.
- If you want the image to lead to one of the pages on your website, select either "Built-In Page" or "Page Vault" in the "Link Type" field and select the page
from the "Page" field.
- If you would like the image to let people download a file from
your File Vault, select "File Vault" in the "Link Type" field and
select the file from the "File" field.
Select the "New Window (_blank)" option in the "Target" field if you want a new window to be opened when the user clicks on the image.
After you click OK, the system will insert the image for you.
How to resize or rotate an image
If
you need to resize or rotate the image, use the Advanced Image Upload
feature. This feature is particularly useful for large images such as those generated by digital cameras and image scanners.
To use this feature, go to Website > Vaults > Image Vault.
Select the "More" button at the top (or bottom) of the screen, and then
select "Advanced Image Upload."
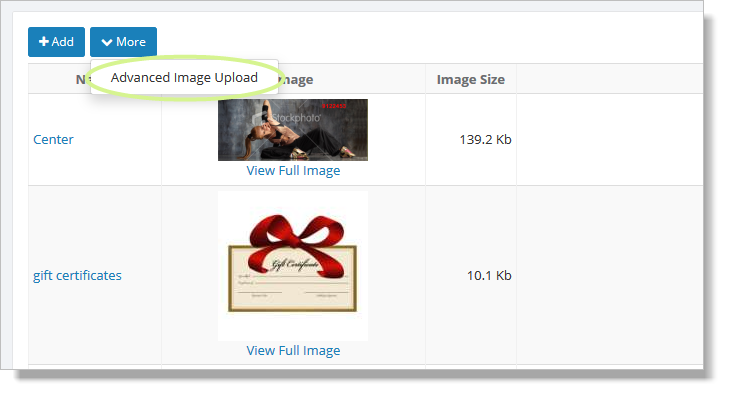
You will see the Advanced Image Upload page:
Select the Browse button and locate the image on your computer.
If
you are resizing, you can either enter a definite height or width (in
pixels) for the image, or you can view a variety of sizes before you
make a choice.
If you'd like to have your image rotated, indicate this in the "Rotate My Image" section.
Click on the "Show Resized Images" button.
You will see an image preview section at the bottom of the page. It will look something like this:
Below the
"Show Resized Images" button, make a selection of an image by clicking
the "Add this image to my Image Vault" button.
You are prompted to enter
a name and comment for the modified image.
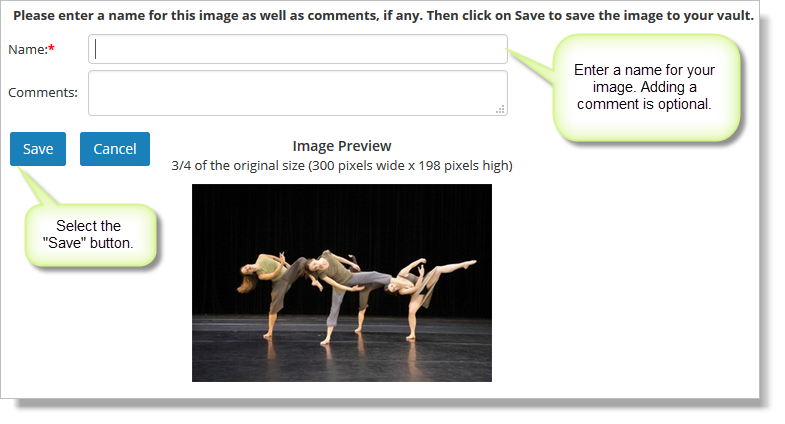
After you save this
information, you will see your image displayed on the Image Vault grid.
How to format an image
The images you insert onto your webpages will look much better if you take some time to format them.
If the image is all by itself, it should look OK as is,
but if there is text around your image, it will look something like
this:
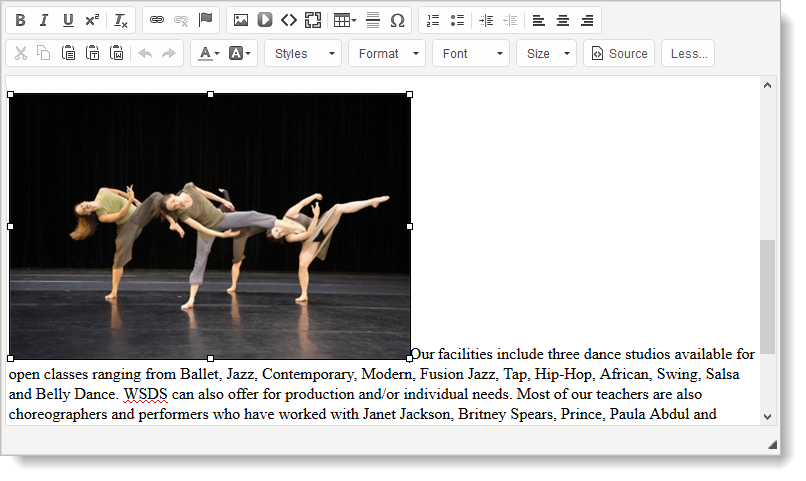
The first thing you might want to do is to format the
image so that the text will flow around it. To do this, double-click on
the image to display the image properties (shown below). On the "Image Info" tab, set the "Alignment" field to "Right" or "Left."
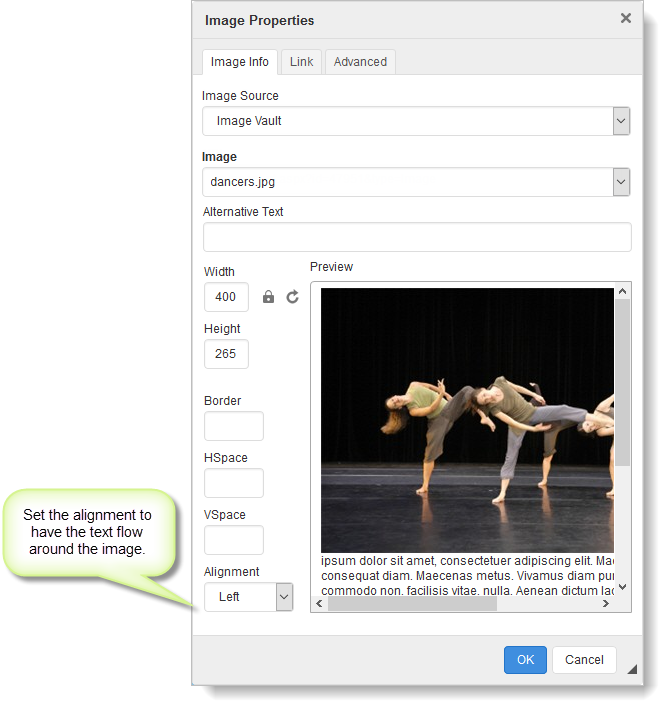
Click on "OK" to save your changes.
The text on the page should now flow around the image, as shown here:

From here you may want to add some distance between your
image and the text. There are a few settings that will do this for
you: Border, Hspace and Vspace.
Double-click on the image again to set these properties.
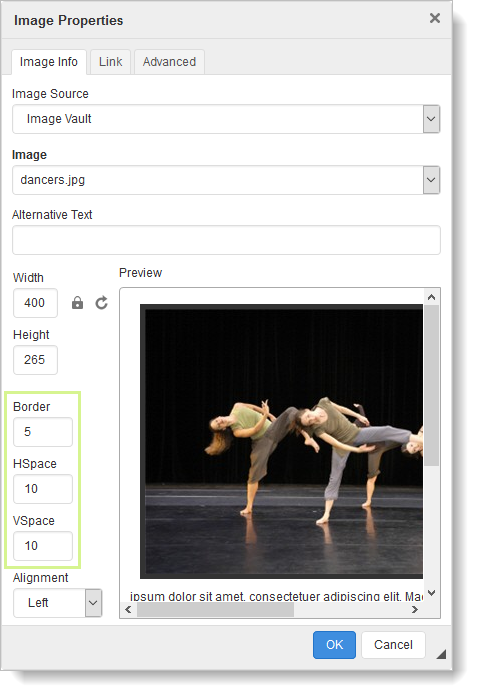
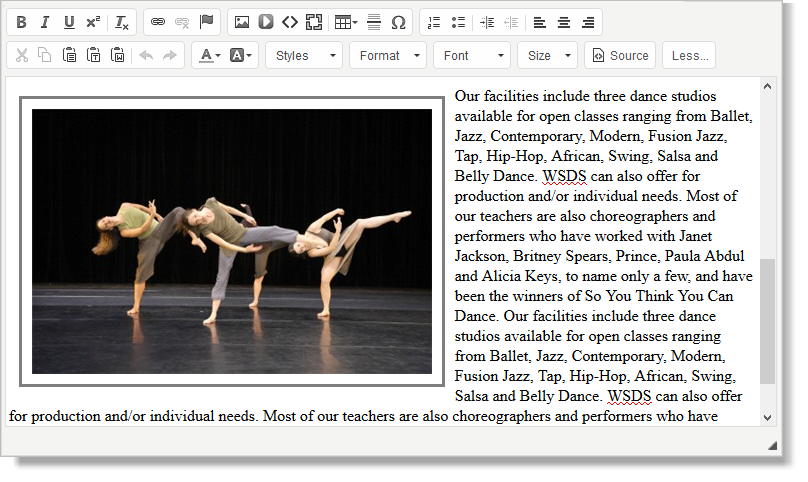
Here is an example of an image with a charcoal-colored border. Padding and margins have been used to create some space around the image.
