Adding, editing and deleting payments (from Manage > Accounts > Accounts)
This article will discuss ways to add, edit and delete payments from Manage > Accounts > Accounts.
Payments can be entered, edited and deleted from several different places in Main Street Sites. For a full discussion of the options in this area, please see Adding, editing and deleting payments (general).
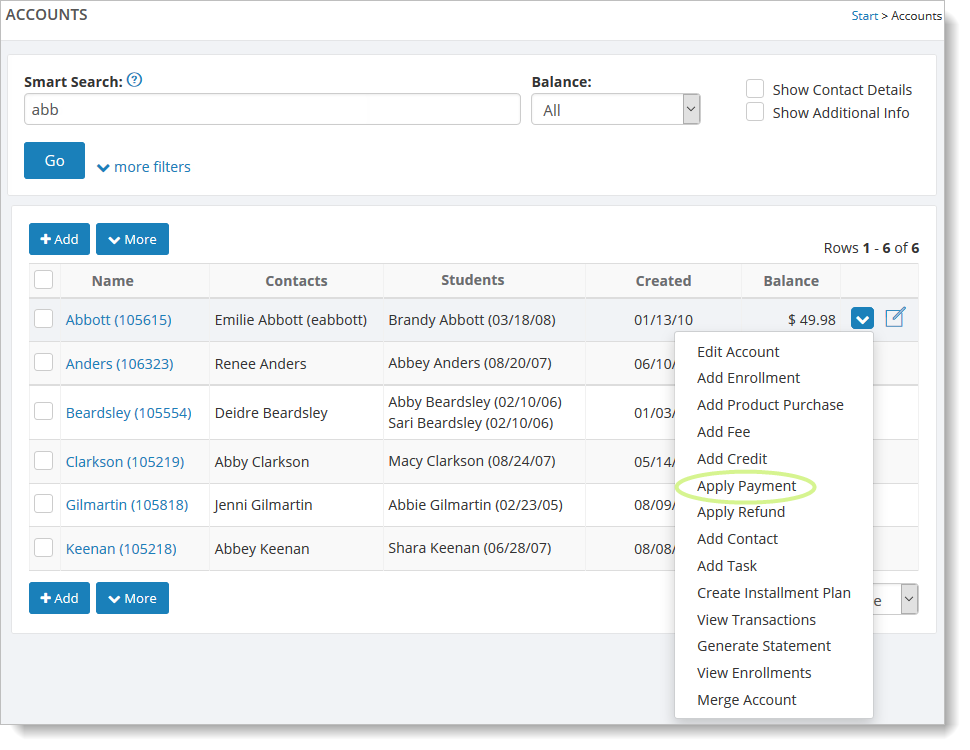
To add a payment from Manage > Accounts > Accounts, find the account for which you want to add the payment. On the grid,
hover over the account, and select the far right blue down arrow. Click
on the "Apply Payment" command.
And here (while viewing an account):
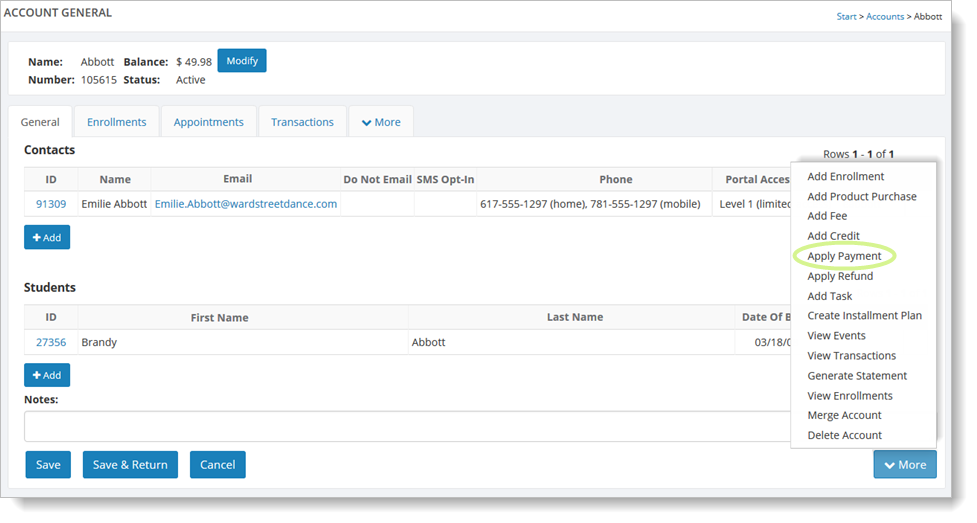
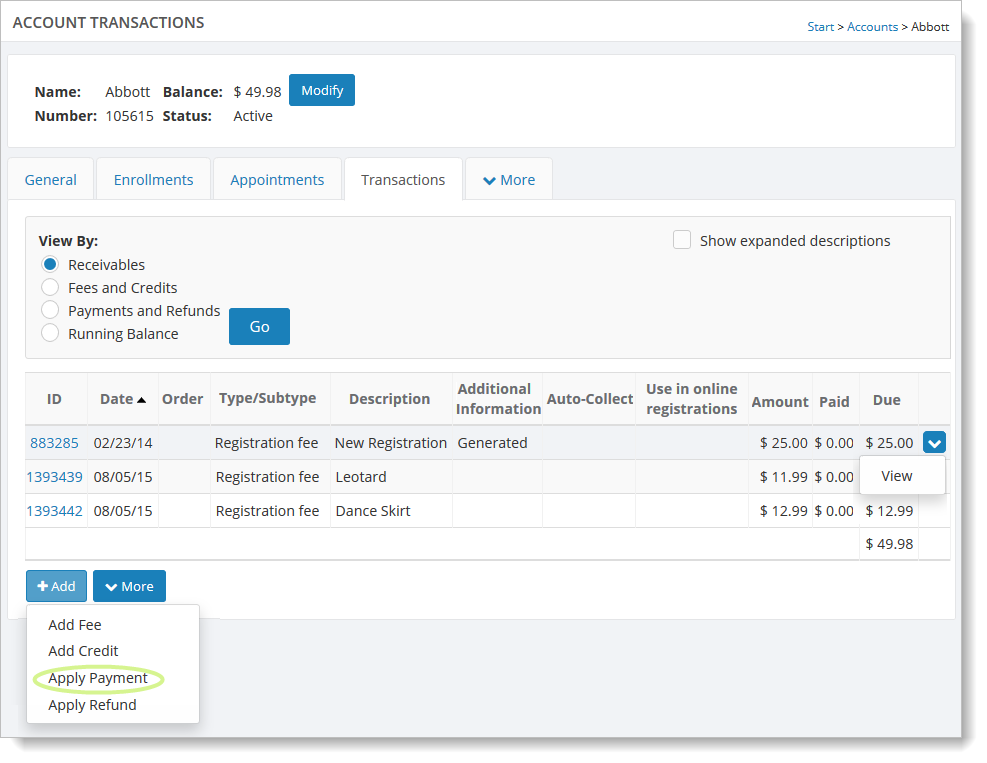
You can also click on the "Apply Payment" link from the Manage > Accounts > Transactions tab, as shown here:
You can also go to Manage > Accounts > Accounts, select the
"Transactions" tab, and click on the "Add" button. From that dropdown
list you can select the "Apply Payment" command.
Then follow the steps described in Entering a payment.
You can edit existing payments by hovering over the payment in the
transaction grid, clicking on the far right blue down arrow, and
selecting the "View" command.
To delete a credit, you must first click on the "View" command for the credit, and then follow the steps described in Adding, editing and deleting payments (general).