Holidays
Holidays can be used to tell Main Street Sites that you won't be holding classes on a particular day. This will be taken into account when your class meetings are generated. If you add the holiday after the meetings are generated, your existing meetings will be adjusted to skip over the holiday. Please see the Holidays Overview for more information about holidays.
Find Holidays in the Setup menu at Setup > General > Holidays. The Holidays page shows a list of holidays. It should look something like this:
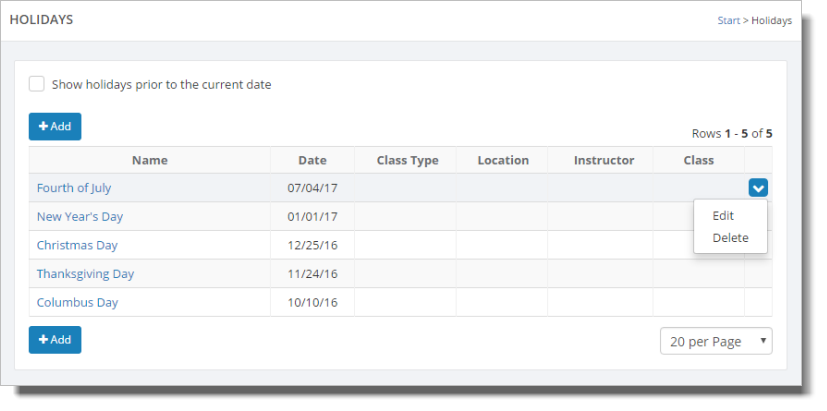
Main Street Site displays the holidays with the later dates at the top (for example, 01/01/2017 is listed before 11/24/2016). To edit or delete a holiday, hover over the holiday and click the blue down arrow on the far right. This action displays a drop-down list with both the "Edit" and "Delete" commands. You can also edit a holiday by clicking the holiday name. This action takes you to Edit Holiday (shown below).
Click on the "Add" button and enter your holiday name and date, as shown here. Note that this will not make an entry in your calendar. You'll need to make a manual calendar entry if you want the holiday to display in your calendar.
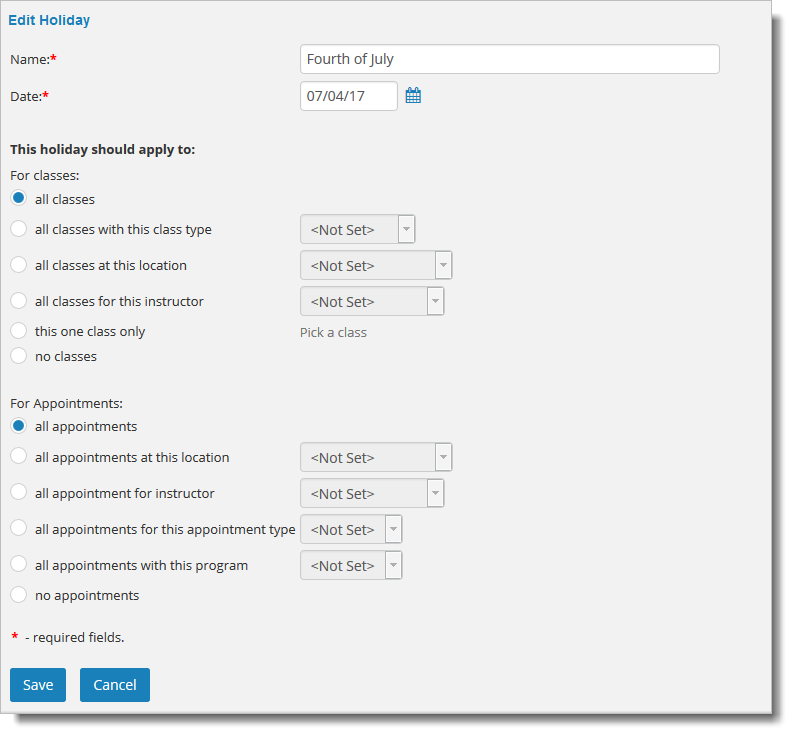
By default a holiday applies to all of your classes. However, you can have a holiday apply to a single class type, a single location or teacher. You can even have a holiday apply to single class if needed. Below the holiday setting for classes, you have the same options for appointments.
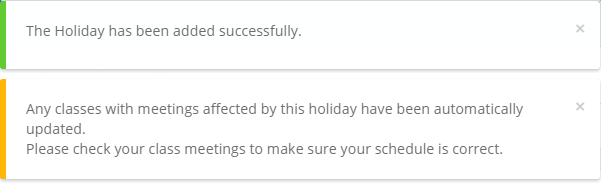
After you save the holiday, you'll see a message like this. It tells you that the holiday has been added and your class meetings have been adjusted as needed.
It's a good idea to take a look at your meetings to make sure they have been updated as you expected. In this example, the Thanksgiving holiday caused the Week 4 class to be moved to the following week. The Note column indicates the holiday name.
