Adding, editing and deleting credits (General)
You can add, edit and delete credits from several different places in Main Street Sites.
Where can you add, edit and delete credits?
- From Manage > Accounts > Accounts.
Use this page to see all credits for a single account at one time.
See Adding editing and deleting credits (from Manage > Accounts > Accounts) for details.
- From Manage > Activity > Orders.
Use this page to see credits for a single online registration at one time.
See Adding editing and deleting credits (from Manage > Activity > Orders) for details.
- From Manage > Activity > Enrollments.
Use this page to see all credits associated with one enrollment at one time.
See Adding editing and deleting credits (from Manage > Activity > Enrollments) for details.
- From Manage > Financials > Fees & Credits.
Use this page to see any and all credits in your account at one time.
See Adding editing and deleting credits (from Manage > Financials > Fees & Credits) for details.
Entering a new credit
New credits are often created automatically when an online registration is entered on your website. This will occur if you are using coupons as part of your registration process.
You can also create credits by by clicking on the "Add" button or "Add Credit" command on any one of the pages listed above.
After selecting the add function, please follow the steps described in Entering a credit.
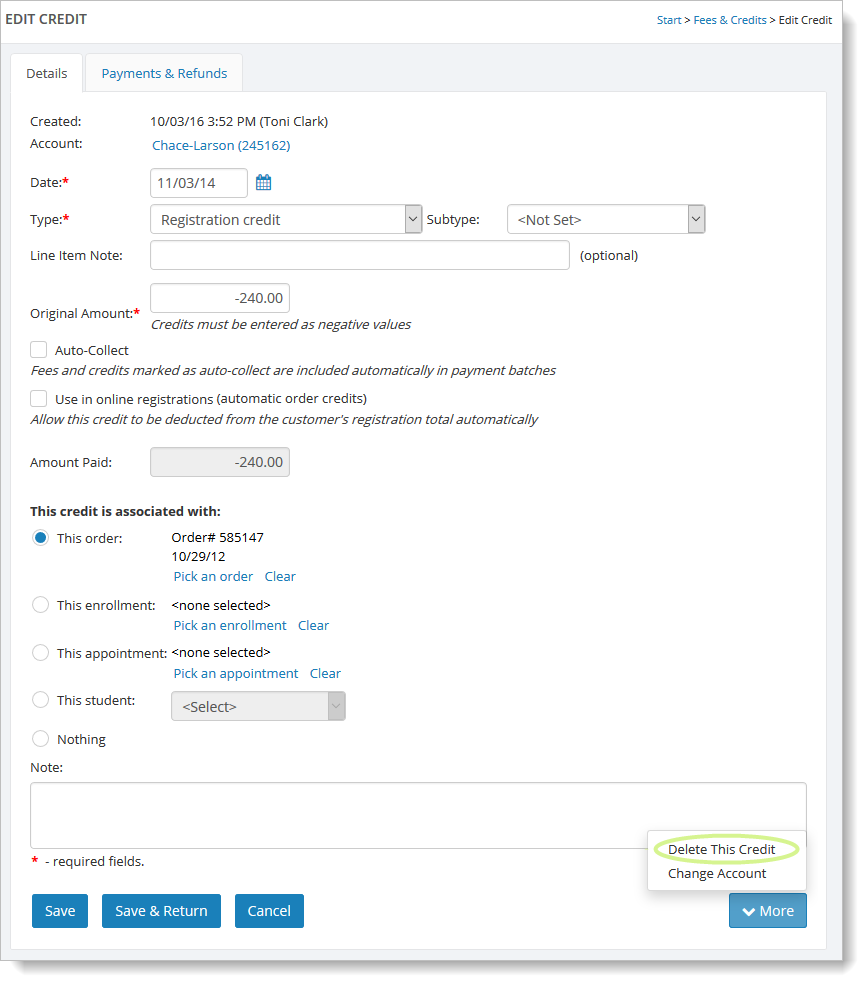
Editing existing credits
You can edit existing credits by selecting the "View" command on one of the pages listed above. (To
access the "View" command, hover over the credit and click the
far right blue down arrow.)
You can change the details on the credit and add payments or refunds for the credit by clicking on the "Payments & Refunds" tab.
Some aspects of credits (such as the enrollment or order that they reference) are not fully editable when the credit is associated with an online registration.
Deleting credits
You can delete existing credits by selecting the "View" command on one of the pages listed above. (To
access the "View" command, hover over the credit and click the
far right blue down arrow.)
Then click on the "More" button and select "Delete This Credit."
You'll be shown a confirmation page that explains the effect of the deletion. For example, deleting a credit that has already been associated with a refund will cause the related refund to become unapplied.
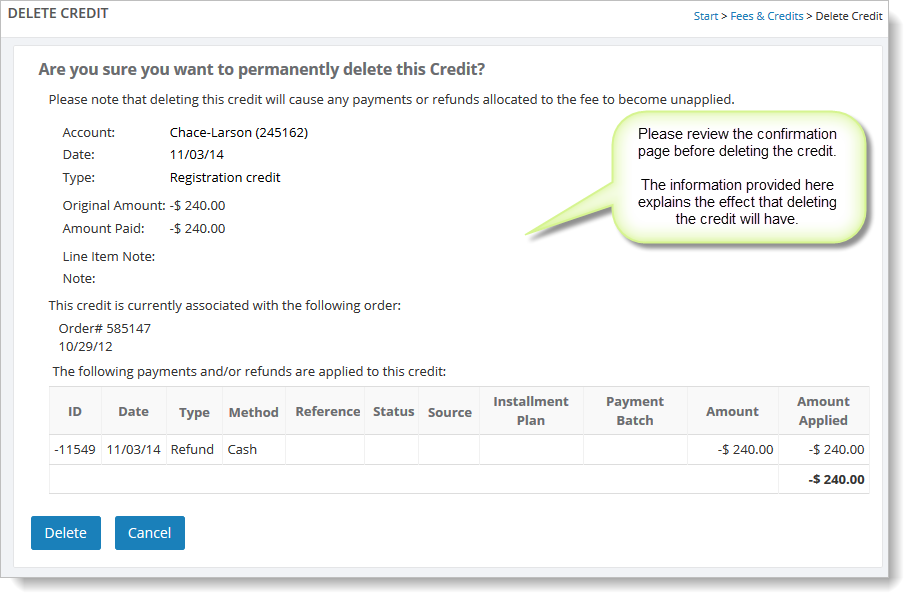
Click the "Delete" button when you are ready to delete the credit.