Adding, editing and deleting enrollments (from Manage > Classes > Classes)
This article will discuss ways to add, edit and delete enrollments from Manage > Classes > Classes.
Note: Enrollments can be entered, edited and deleted from several different places in Main Street Sites. For a full discussion of the options in this area, please see Adding, editing and deleting enrollments (general).
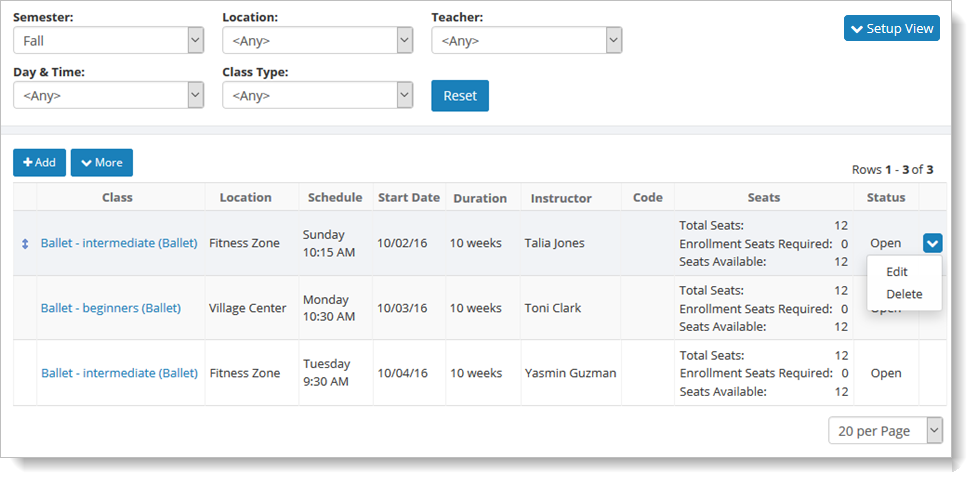
To edit an enrollment, go to Manage > Classes > Classes. Locate the relevant class. Hover
over it, click the blue down arrow on the far right, and select the
"Edit" command. You can also edit a class by clicking its name.
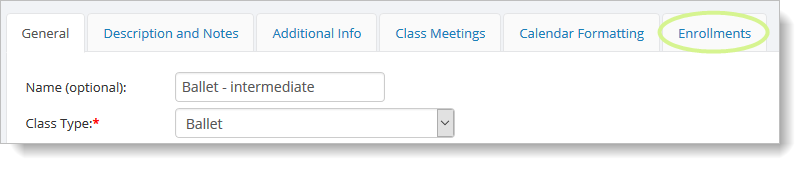
This
action takes you to a class page with several tabs. To add an enrollment to a specific class, select the Enrollments tab.
On the Enrollments tab, click on the "Add" button.
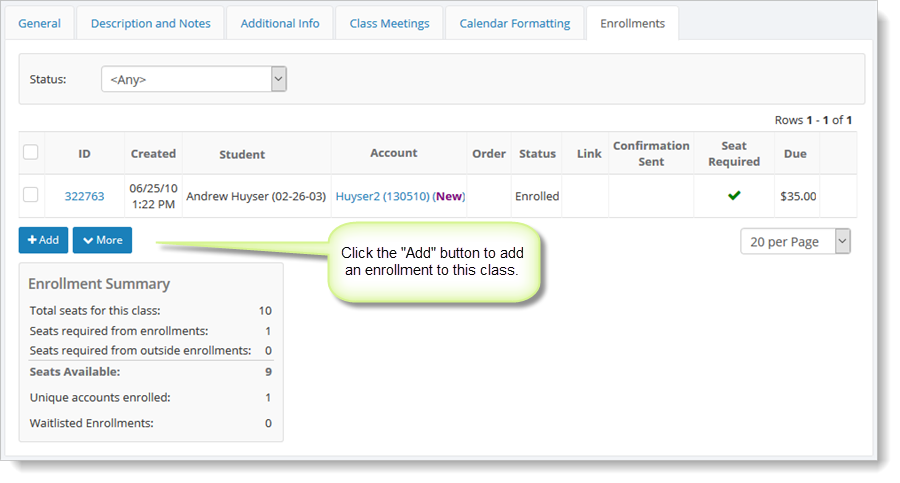
You'll see the Add Enrollment page. Follow the steps described in Entering an enrollment.
You can edit an existing enrollments on the Enrollments tab by hovering over an enrollment and clicking the blue down arrow on the far right. Select the "View" command that's displayed.

To delete an enrollment, you must first click on the "View" command and follow the steps described in Adding, editing and deleting enrollments (general).