How to add a blog to your portal
To add a blog for your portal, you will first need to create the blog as described in How to create a Blog.
When you create your blog, take notice of the address for the blog, as shown in this example:
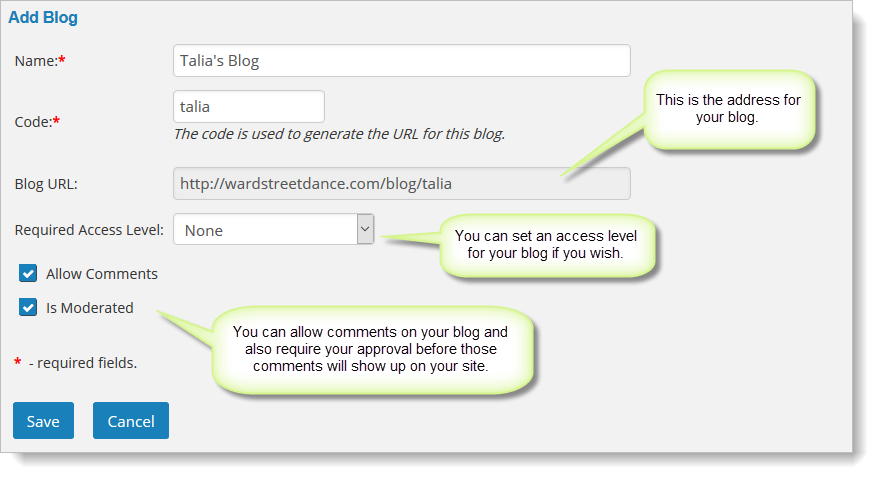
You will use that address when you add the blog to your portal.
To add the blog to your portal, you'll follow the steps described in How to add items to the portal. First go to Website > Community > Portal and select the "Layout" tab.
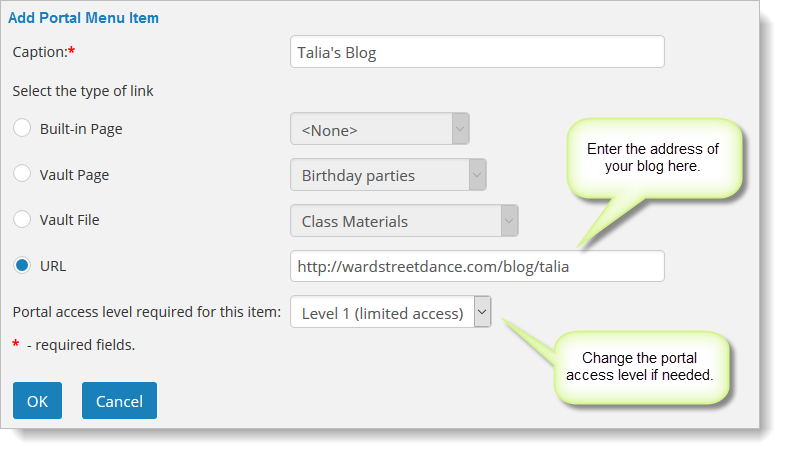
Click on the "Add" button. When adding the item to the portal, select the URL option, and enter the address to your blog, as shown here.
The blog will be added to your portal once you save your changes.
Note: Make sure you understand how the the security settings work for the Customer Portal. Please see How to control access to the portal for details on how this works.