How to create blogs
You can create as many different blogs as you would like. You can create one just for yourself or several (one for each teacher, for example).
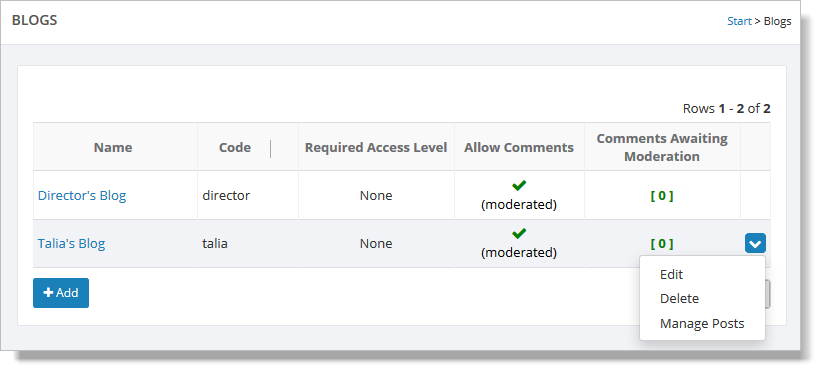
To create a blog, first go to Website > Community > Blogs and click on the "Add" button.
When you see the form for a new blog, enter a name for your blog and a code. The code is used to build the address for the blog, as shown here.
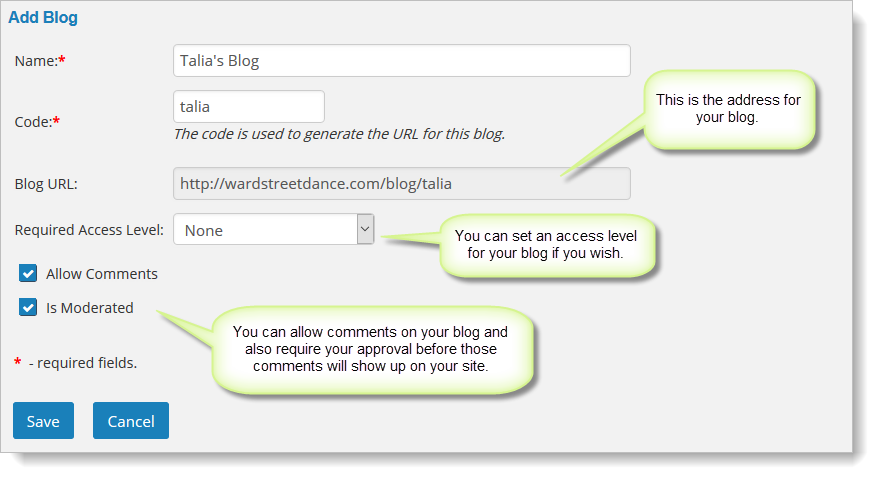
Set the access level for your blog if you want visitors to your site to have to log in to view it. See How to control access to the portal for more information on the setting the access level for a page on your site.
Once you have saved your changes, your blog is ready to use.
Please see How to add a blog to your portal to add a link to this blog to your Customer Portal.
Or see How to add a blog to your website to add a link to this blog to a page on your site or to a custom menu.
You can also go to How to post to your blog to add a post to your new blog.